Fitting film to windows only looks straightforward from the outside. On this page we set out how professional installation works step by step, why preparing the glass is the most important part, how long the curing period lasts and how to look after the film afterwards. Riga and a 50 km radius, prices from €25/m².
A good result is the sum of steps done properly. None of them is complicated on its own, but every step skipped shows up on the glass later.
We measure every pane separately. Even windows that look identical often differ by a few millimetres, and film cut to the size of the pane next door will not sit right.
We cover the sill and the floor and clear access to the window. It is wet work, so preparation protects your furniture and keeps our working area free of dust.
The most important stage. We wash the glass several times over, scrape off anything stuck to it and clean the frame edges and corners separately.
We cut the film to size, leaving a small, even gap from the frame all the way around the perimeter.
We spray the glass and the adhesive side of the film with solution. This stops the film gripping instantly and allows it to be positioned precisely.
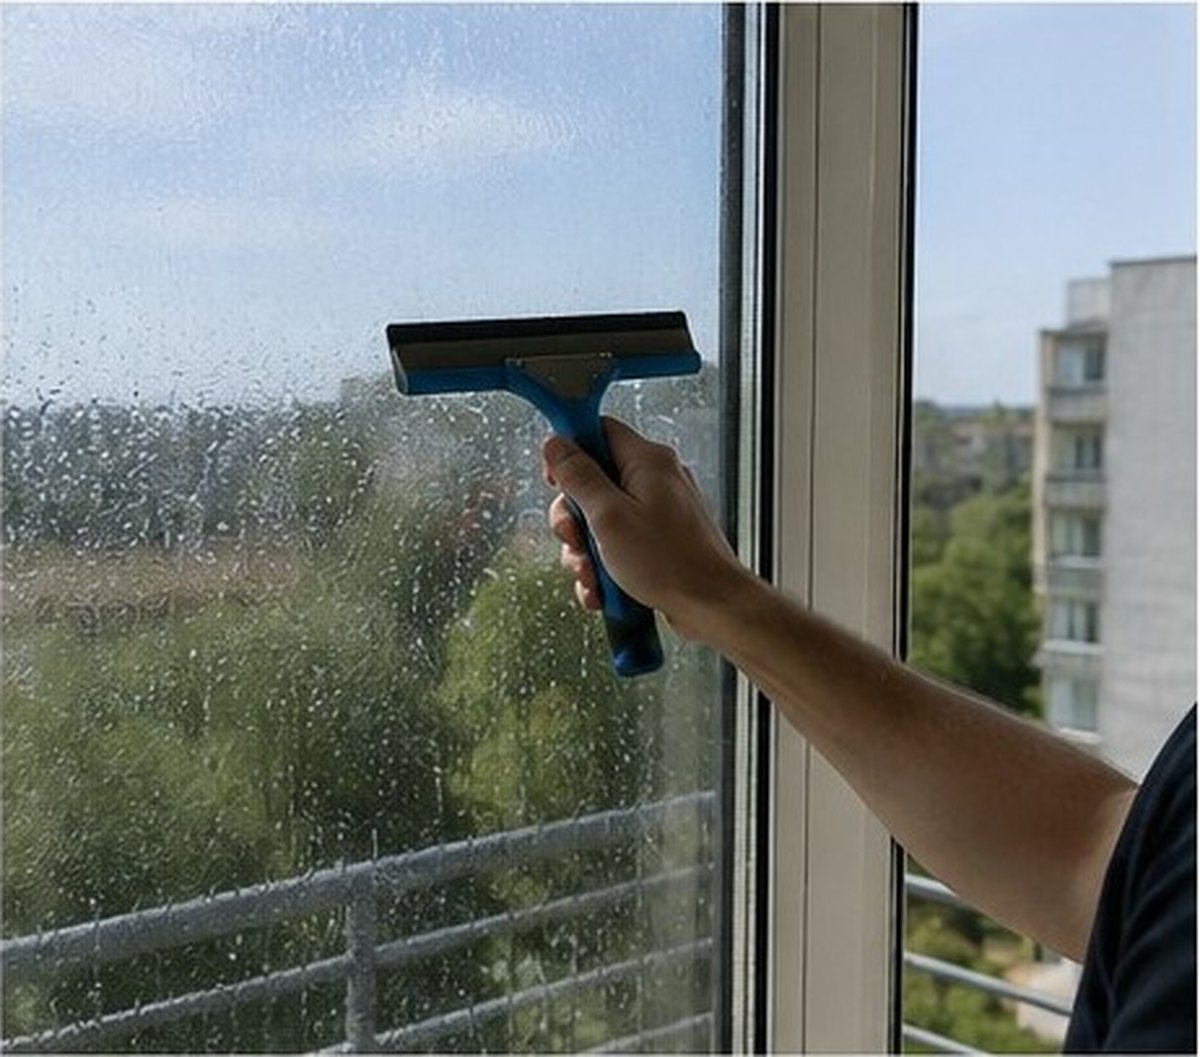
Using a squeegee we push the solution from the centre outwards in overlapping strokes until no liquid and no air remain under the film.
We check the result against the light, wipe down the frames and sill and clear everything away behind us.
Film is transparent and sits completely flush against the glass. That means anything left between the two is trapped there for good.
A single dust particle under the film creates a small raised point that casts a shadow in daylight and is visible from several metres away. Once the film is on, it cannot be removed - the only remedy is replacing the whole sheet.
That is why we spend more time on cleaning than on the application itself. We clean the frame edges and corners separately: that is exactly where dust falls onto the glass from at the moment the film is going on.
An even gap between the film and the frame is not carelessness but a deliberate choice, and there are several reasons for it.
First, the edge of the glass next to the frame almost always carries traces of dirt, silicone or paint that the adhesive will not grip. If the film were laid over them, the edge would soon start to lift.
Second, the film and the glass need a little room to move as temperatures change. The gap provides it.
Third, the wet method requires somewhere for the solution to escape. Without a gap, some of the liquid would stay trapped at the edge. A properly executed gap is not noticeable from a distance.
If film with the liner removed were laid straight onto dry glass, it would grip instantly and permanently exactly where it landed. Even a centimetre out of line could not be corrected, and trying to peel the film back would ruin it.
A soapy water solution temporarily suspends the action of the adhesive. The film floats on the surface of the glass and can be aligned precisely against the frame. Only then do we squeegee the solution out, and the adhesive gradually starts to work.
Squeegeeing is done systematically, in overlapping strokes from the centre outwards. In summer, when the glass is hot, you have to work faster, because the solution dries more quickly.
Tell us about the property and roughly how many windows there are. We will prepare a quote and call you back.
This part is worth reading before the work starts, because for the first few days the film does not look quite the way it will end up.
However carefully the solution is squeegeed out, a thin layer of moisture remains between the film and the glass. It dries out gradually, evaporating through the film itself.
During this time you may see a slight haze or small patches of water on the glass that look like bubbles. These are moisture, not a fault, and they disappear on their own.
How long: usually from a few days to a couple of weeks. Faster in summer, slower in winter and on shaded elevations. Thicker safety films take longer than thin ones. In cold weather the process can drag on longer still.
Most important of all: during this period the film must not be pressed, poked or have its bubbles squeezed out by hand. Doing so can create a crease where everything would have settled by itself.
Once the curing period is over, you can judge the result against the light. Well-fitted film is even across the whole surface, with no raised points and no specks of dust. The gap from the frame is consistent all the way around, the edges sit tight against the glass, and the surface of the film is smooth and clear.
The signs of poor work are grains of dust under the film, persistent bubbles that have not gone after a few weeks, an uneven or crooked gap, creases in the corners and lifting edges. These do not improve with time and usually mean the sheet has to be replaced.
Installation prices start from €25/m², and the price always includes both the film and the labour - there is nothing extra to pay for fitting. Decorative films from €29/m², reinforced safety films from €35/m². Prices excl. VAT, minimum order €75. If there is old film on the glass, we start by removing it from €8/m².
For a typical apartment the work takes from a few hours to a full day. We choose the type of film to suit the job - you will find an overview on our page about adhesive window films, but the most frequently ordered are solar control films and frosted films.
All our prices are on the prices page. We work throughout Riga and a 50 km radius, including Jūrmala, Mārupe, Ķekava and Ogre.
Usually anything from a few days to a couple of weeks. A thin layer of moisture remains between the film and the glass and evaporates out through the film itself. During this time you may see a slight haze or small patches of water - these are normal and disappear on their own. The process is quicker in summer, slower in winter and on shaded elevations. Thicker safety films need longer than thin ones.
In the first few days after installation, most likely not. Small patches of water that look like bubbles are leftover solution, and they dry out by themselves. It is important not to press them or try to push them out - that can create creases. If, after a few weeks, you still have air bubbles with sharp edges or visible specks of dust under the film, that is an installation fault, and in that case the sheet has to be replaced.
We recommend waiting around two weeks so the adhesive has time to bond fully. After that, clean with a soft cloth or microfibre and lukewarm water with a little mild washing-up liquid. Do not use ammonia-based glass cleaners, abrasive products, the rough side of a sponge or scrapers. Take care around the edges of the film so as not to lift them.
A small, even gap around the perimeter is deliberate and necessary. There are often traces of silicone or paint on the edge of the glass next to the frame, which the adhesive will not grip, so the edge would start to lift. The gap also gives the film room to move with temperature changes and lets the solution escape during installation. A properly executed gap is not noticeable from a distance.
Because the film sits flush against the glass, and anything left between the two is trapped there for good. A single dust particle creates a small raised point that casts a shadow in daylight and is visible from several metres away. Once the film is on, it cannot be removed - the whole sheet has to be replaced. That is why we wash the glass several times over and clean the frame edges and corners separately.
For a typical apartment with a handful of windows the job usually takes from a few hours to a full day. For larger sites - offices, shopfronts and glazed façades - we plan the time separately and fit it around your working schedule. The space can be used immediately afterwards; you only need to follow the curing-period advice on cleaning.
Describe the property and the number of windows - we will prepare a quote and call you back. Free on-site measuring.
We have received your enquiry and will prepare a quote. We will call you on the phone number you provided.
